- Measure your door - ours was 75cm long and we wanted it to be 15cm high (as wide as the remnant we were using!)
TOP TIP
Add 2cm onto each length of fabric to allow for seam allowance. Our remnant was only 65cm long - so we used some of the extra plain backing to make up the length.

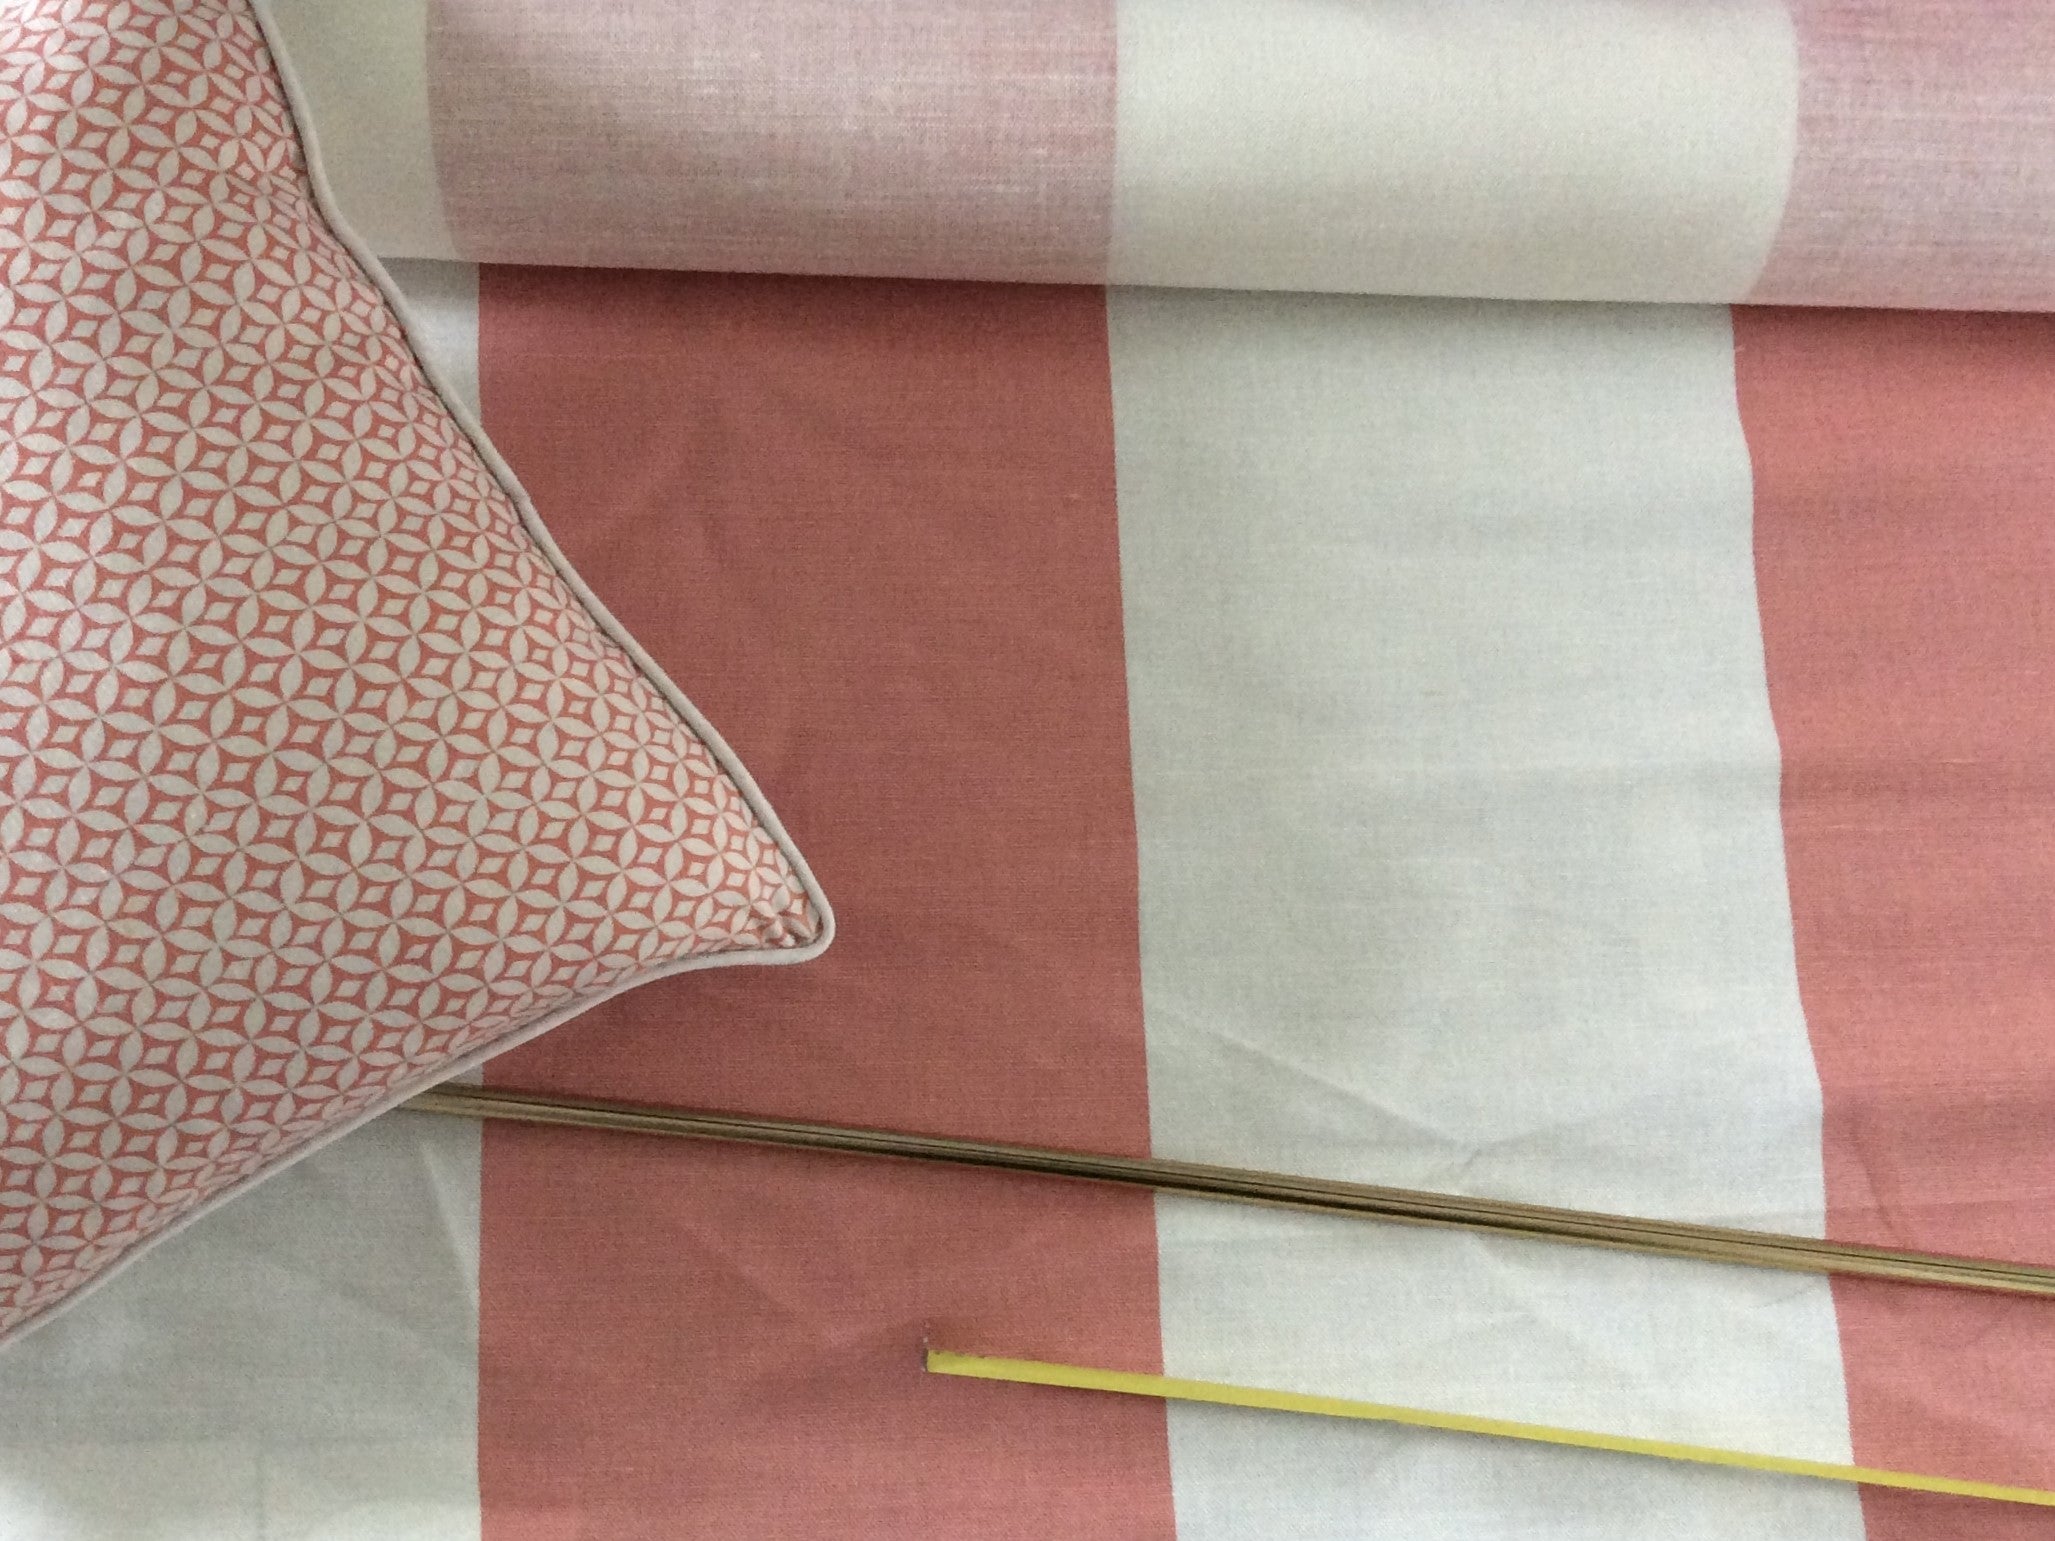
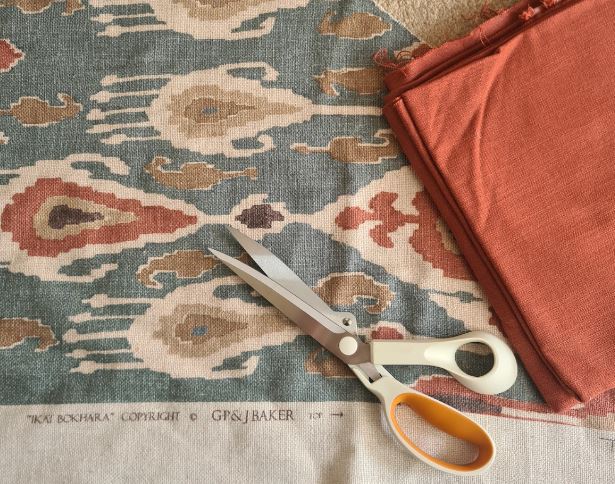
2. Cut out your 2 x main body pieces - *use a plain linen for the back to make the print go further

3. If you want to add a loop for the top of the excluder - cut out a 4 inch long x 2 inch wide (in either the print or plain)
4. Iron all the pieces
- To create the loop - press the loop piece in half, long edge to long edge, unfold. Then line up the long edges with the new centre line and press again. Then line up the long edge to the long edge and press again - voila no seams in sight!

- Pin the fabrics right side together along both long edges and one short edge (leave one end open for stuffing) - *don't forget to pin the loop in place, central on smaller edge - with the loop facing in between the right sides*

7. Sew along all three edges, finish with a zig zag stitch.

- Pull the right side out and use a pencil or similar to push out the corners to a nice neat point.
- Stuff with scraps! We used our small cuttings from old samples and lampshade making.
*give it a good squish and a wiggle to avoid any lumps and bumps
10. Pin and hand stitch closed once filled!

Check out all our fabrics, and have a go!